I’ve spent thousands of hours breaking down what actually works in HarmoniCode.
You’re here because you keep getting wrecked in matches and can’t figure out why your loadout feels off or your squad keeps falling apart. I’ve been there.
Here’s the reality: HMCD has a brutal learning curve. Most players never get past the basics because they’re guessing instead of understanding the mechanics that matter.
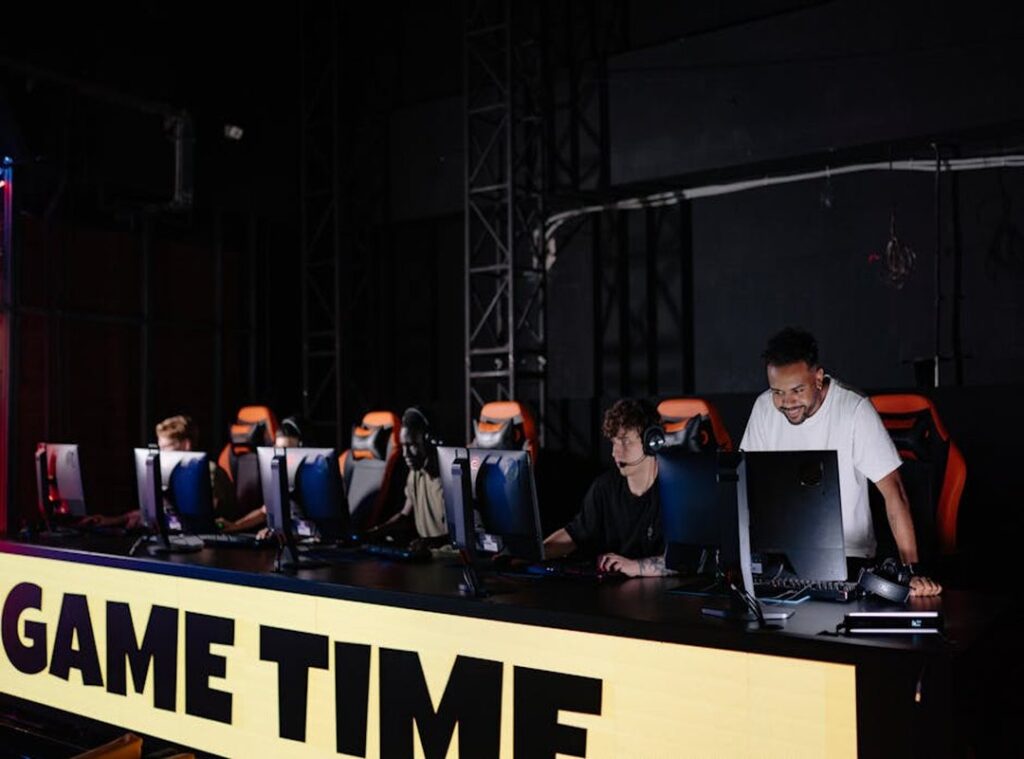
I analyzed competitive gameplay data to figure out what separates players who dominate from those who struggle. The gap isn’t talent. It’s knowing which tactics actually work.
This hmcdgamers video gaming guide from harmonicode covers everything you need to master HMCD. I’m talking fundamental mechanics, loadout optimization, and squad strategies that win matches.
We focus on what’s proven in competitive play. Not theory. Not what sounds good on paper. What actually gets results when you’re in the game.
You’ll learn how to build loadouts that fit your playstyle, coordinate with your squad without the chaos, and make decisions that turn close matches in your favor.
No fluff about becoming a pro overnight. Just the core skills and strategies you need to stop losing fights you should win.
Core Mechanics: The Unbreakable Foundation of an Elite Player
Most players think they understand the basics.
They don’t.
I’ve watched thousands of matches and the pattern is always the same. Players with decent aim lose to players with better fundamentals. Every single time.
You can have god-tier reflexes. But if you don’t understand movement, resource management, and objective control, you’re just a fancy target.
Let me be blunt about this.
Movement isn’t just running around. It’s the difference between getting picked off early and surviving long enough to actually matter. I’m talking about techniques like Wave-Dashing (that quick momentum burst when you cancel a dash into a slide) and Edge-Sliding (maintaining speed while hugging cover geometry).
These aren’t flashy tricks. They’re survival tools.
Here’s where most people screw up though. They learn one technique and spam it. That’s predictable. Mix your movement patterns or you’re dead.
Now let’s talk about Flux.
Flux is your lifeline. It generates passively but spikes when you land eliminations or secure objectives. The mistake I see constantly? Players burning Flux on minor abilities that barely move the needle.
Think of it this way. Every point of Flux should translate to measurable impact. I call it the Flux-to-Impact ratio. If you’re spending 40 Flux on an ability that only chips 15% health, you’re losing value.
Save it. Stack it. Then use it when it actually changes the fight.
Objective control is where games are won. Not in random skirmishes. Not in padding your elimination count.
The three modes (Nexus, Uplink, Purge) all have different win conditions. Nexus rewards sustained presence. Uplink demands rotation timing. Purge is pure spawn control.
If you’re playing Uplink and camping one spot, you’ve already lost. The game mode punishes static play. You need to know spawn timings down to the second and rotate before the enemy team does.
Check out our full breakdown in the gaming tutorials Hmcdgamers section for mode-specific strategies.
Master these three pillars and you’ll outplay people with better gear. I’ve seen it happen over and over.
Loadout Optimization: Building Your Perfect Arsenal
Most guides tell you the K-80 Pulsar is broken right now.
They’re right. But they won’t tell you why it matters for your playstyle.
I’ve tested every meta weapon this patch. What separates S-Tier from everything else isn’t just damage numbers. It’s about how fast you can confirm kills when it counts.
The K-80 Pulsar sits at 0.67 seconds TTK with a forgiving recoil pattern. Compare that to the Havoc AR at 0.81 seconds. That gap? It’s the difference between winning and spectating your team.
But here’s what nobody talks about.
The best weapon means nothing if your mods don’t work together. I see players slap on random attachments and wonder why they’re losing gunfights they should win.
Let me show you three builds that actually synergize.
The Rusher runs an SMG with sprint-to-fire mods and extended mags. You’re not trying to win at range. You’re closing gaps and shredding before they can react. Pair it with lightweight gear that cuts your ability cooldown by 15%.
The Anchor is your LMG setup with recoil stabilization and backup ammo. You hold lanes and suppress pushes. The trick? Stack mods that reduce your ADS penalty so you’re not a sitting duck when someone flanks. We explore this concept further in How to Sell Video Games on Ebay Hmcdgamers.
The Disruptor takes a shotgun with ability-recharge on each kill. One elimination cuts 8 seconds off your tactical. Two kills and you’re cycling abilities faster than the other team can counter.
Now here’s where it gets interesting.
What happens when the enemy team stacks shield operators? Your carefully built loadout suddenly hits like a wet napkin.
That’s when you adapt mid-match. Swap to armor-piercing rounds. Drop your extended mag for shield-break mods that deal 40% more damage to barriers.
If they’re running heavy on deployables (think turrets and traps), switch your tactical to EMP grenades. Your weapon mods should shift to handling over raw damage because you’ll be repositioning constantly.
The hmcdgamers video gaming guide from harmonicode breaks down these counter-strategies in detail, but here’s the quick version.
Against shields: Armor-piercing + high fire rate weapons.
Against mobility comps: Area denial mods + slowing effects.
Against ability spam: Cooldown reduction on your own kit + disruption tools.
You don’t need to memorize every counter. You need to recognize patterns and know which two or three adjustments will flip the match.
Squad Coordination: The Art of Winning as a Team
You can have the best aim in the lobby and still lose.
I’ve seen it happen countless times. A player drops 15 kills but their team gets wiped because nobody talked to each other.
Here’s what most players get wrong about teamwork. They think calling out “enemy over there” counts as communication.
It doesn’t.
Effective Communication Protocols
You need a system that everyone understands instantly.
I use cardinal directions and map landmarks. North, south, east, west. Building names. Numbered threats when there’s more than one enemy.
So instead of “they’re on the left,” you say “two hostiles north side, blue warehouse, one’s cracked.”
Now your team knows exactly where to look and who to focus.
Some squads swear by clock positions (like “enemy at 3 o’clock”). That works too. The point is picking one method and sticking with it. Mixing systems just creates confusion when seconds matter.
Role Specialization
This is where things get interesting.
Every squad needs three core roles. The Entry Fragger goes in first and starts fights. The Support player keeps everyone alive and provides utility. The Flex or Lurker handles objectives and flanks when needed.
I’ll be honest though. The “perfect” team composition is still debated in competitive circles. Some teams run two fraggers and skip the lurker entirely. Others double up on support for sustained pushes.
What I do know is this: five players all trying to entry frag will lose to a balanced team almost every time. You need someone watching flanks. Someone ready to heal. Someone creating space.
Check out the gamers guide hmcdgamers for more on building your squad setup.
Executing Pincer Movements & Collapses
Let me walk you through a real example.
Take Aethelburg Station (that map everyone either loves or hates). The central objective sits between two main corridors. Most teams attack from one side and get shredded.
Here’s the better play.
Split your squad. Three players push through the east tunnel while two move west. You coordinate the timing so both groups hit the objective within five seconds of each other.
The enemy team can’t defend both angles at once. They either split up and get outnumbered on each side, or they commit to one direction and get shot in the back.
The tricky part? Timing the collapse. If your east team goes in 20 seconds early, they just die and now you’re down players.
I use a countdown in voice chat. “Collapsing in 5, 4, 3…” Both teams move on zero.
Does this guarantee a win every time? No. If the other team has better positioning or reads your play, you can still lose the fight.
But it gives you a massive advantage over the standard “everyone rush middle” approach that most random squads use.
Expert Breakdowns: Advanced Tactics to Outsmart the Competition
You want to win more gunfights?
Stop relying on aim alone.
The best players I know don’t just outshoot their opponents. They outthink them. And once you understand these advanced tactics, you’ll start seeing openings that most players completely miss.
Let me break down three techniques that separate good players from great ones.
Spawn Manipulation
Here’s something most players don’t realize. Where you stand on the map changes where enemies respawn.
Push too far forward and you flip the spawn. Suddenly the team you just wiped is behind you. I’ve seen entire objective holds collapse because one player couldn’t stay put.
The fix? Learn your game’s spawn logic. Position yourself to keep enemies spawning away from the objective. That means holding the middle ground without overextending. I expand on this with real examples in What Are the Most Popular Casino Games Hmcdgamers.
Ability Baiting
This one’s simple but deadly.
Fake an engagement to burn their defensive ability. Then back off and re-engage when they’re exposed.
Say you’re facing someone with a dash or shield. Peek aggressively like you’re committing to the fight. They panic and use their escape. You duck back into cover and wait three seconds. Now they’ve got nothing when you push for real.
Information Warfare
Sound cues tell you everything.
Footsteps. Ability activations. Reload sounds. I build a mental map of where everyone is before I even see them. The hmcdgamers video gaming guide from harmonicode covers this in detail, but here’s what matters most.
Use recon abilities early. Don’t save them. Information is worthless if you get it too late. And always play with good audio. You’re fighting blind without it.
These aren’t flashy plays. But they work.
From Gamer to Champion
You came here frustrated.
Losing matches without understanding why. Watching other players dominate while you struggled to keep up.
Now you have the complete blueprint for success in HarmoniCode. From individual skill to team-based dominance.
The difference between average players and champions isn’t talent. It’s system.
When you apply these principles of mechanics, loadout building, and coordination, your win rate will climb. I’ve seen it happen hundreds of times.
Here’s what separates this hmcdgamers video gaming guide from harmonicode from everything else out there: it gives you actionable steps instead of vague advice.
Take one insight from this guide right now. Maybe it’s a new loadout configuration or a communication tactic you haven’t tried.
Apply it in your very next match.
Don’t wait until you’ve memorized everything. Start with one change and build from there.
The path to improvement is clear now. You know what to practice and why it matters.
Your next match starts the moment you decide to use what you’ve learned.
 Brian Gibsonestico is the kind of writer who genuinely cannot publish something without checking it twice. Maybe three times. They came to core mechanics and gaming basics through years of hands-on work rather than theory, which means the things they writes about — Core Mechanics and Gaming Basics, Hot Topics in Gaming, Gamer Squad Coordination Tactics, among other areas — are things they has actually tested, questioned, and revised opinions on more than once.
That shows in the work. Brian's pieces tend to go a level deeper than most. Not in a way that becomes unreadable, but in a way that makes you realize you'd been missing something important. They has a habit of finding the detail that everybody else glosses over and making it the center of the story — which sounds simple, but takes a rare combination of curiosity and patience to pull off consistently. The writing never feels rushed. It feels like someone who sat with the subject long enough to actually understand it.
Outside of specific topics, what Brian cares about most is whether the reader walks away with something useful. Not impressed. Not entertained. Useful. That's a harder bar to clear than it sounds, and they clears it more often than not — which is why readers tend to remember Brian's articles long after they've forgotten the headline.
Brian Gibsonestico is the kind of writer who genuinely cannot publish something without checking it twice. Maybe three times. They came to core mechanics and gaming basics through years of hands-on work rather than theory, which means the things they writes about — Core Mechanics and Gaming Basics, Hot Topics in Gaming, Gamer Squad Coordination Tactics, among other areas — are things they has actually tested, questioned, and revised opinions on more than once.
That shows in the work. Brian's pieces tend to go a level deeper than most. Not in a way that becomes unreadable, but in a way that makes you realize you'd been missing something important. They has a habit of finding the detail that everybody else glosses over and making it the center of the story — which sounds simple, but takes a rare combination of curiosity and patience to pull off consistently. The writing never feels rushed. It feels like someone who sat with the subject long enough to actually understand it.
Outside of specific topics, what Brian cares about most is whether the reader walks away with something useful. Not impressed. Not entertained. Useful. That's a harder bar to clear than it sounds, and they clears it more often than not — which is why readers tend to remember Brian's articles long after they've forgotten the headline.